Rewriting the same AnimeGAN demo over and over

OK....so, back in 2022, when I was still at Adobe, I was invited to speak at PyTorch Conference in New Orleans. Despite the travel freeze, I managed to get the company to cover some of my costs and I visited New Orleans. I eventually did this talk where I pitted PyTorch Mobile, TFLite and ONNX Runtime against each other on a Pixel 6. I wanted to do the demo live like I did at the Tensorflow conference, but Meta wasn't able to accomodate that so I took screenshots and fumbled through it. It's not my best talk, but it's my most recent, and my last talk as an Adobe employee.
Anyway, the thing that I was proud at was that I managed to demo something, which was turning out to be harder and harder as AI became more and more competitive, and while academics have NeurIPS and other places, old hackers had nothing ever since O'Reilly stopped doing OSCON. Sure, I could probably do a talk at Open Source Summit, but since I've never been a cloud developer, it'd be really hard to figure out which stream I should be a part of. Also, it got harder and harder to go do talks. I always did talks because it meant I could go to conventions for free, even though in hindsight it hasn't helped me professionally at all.
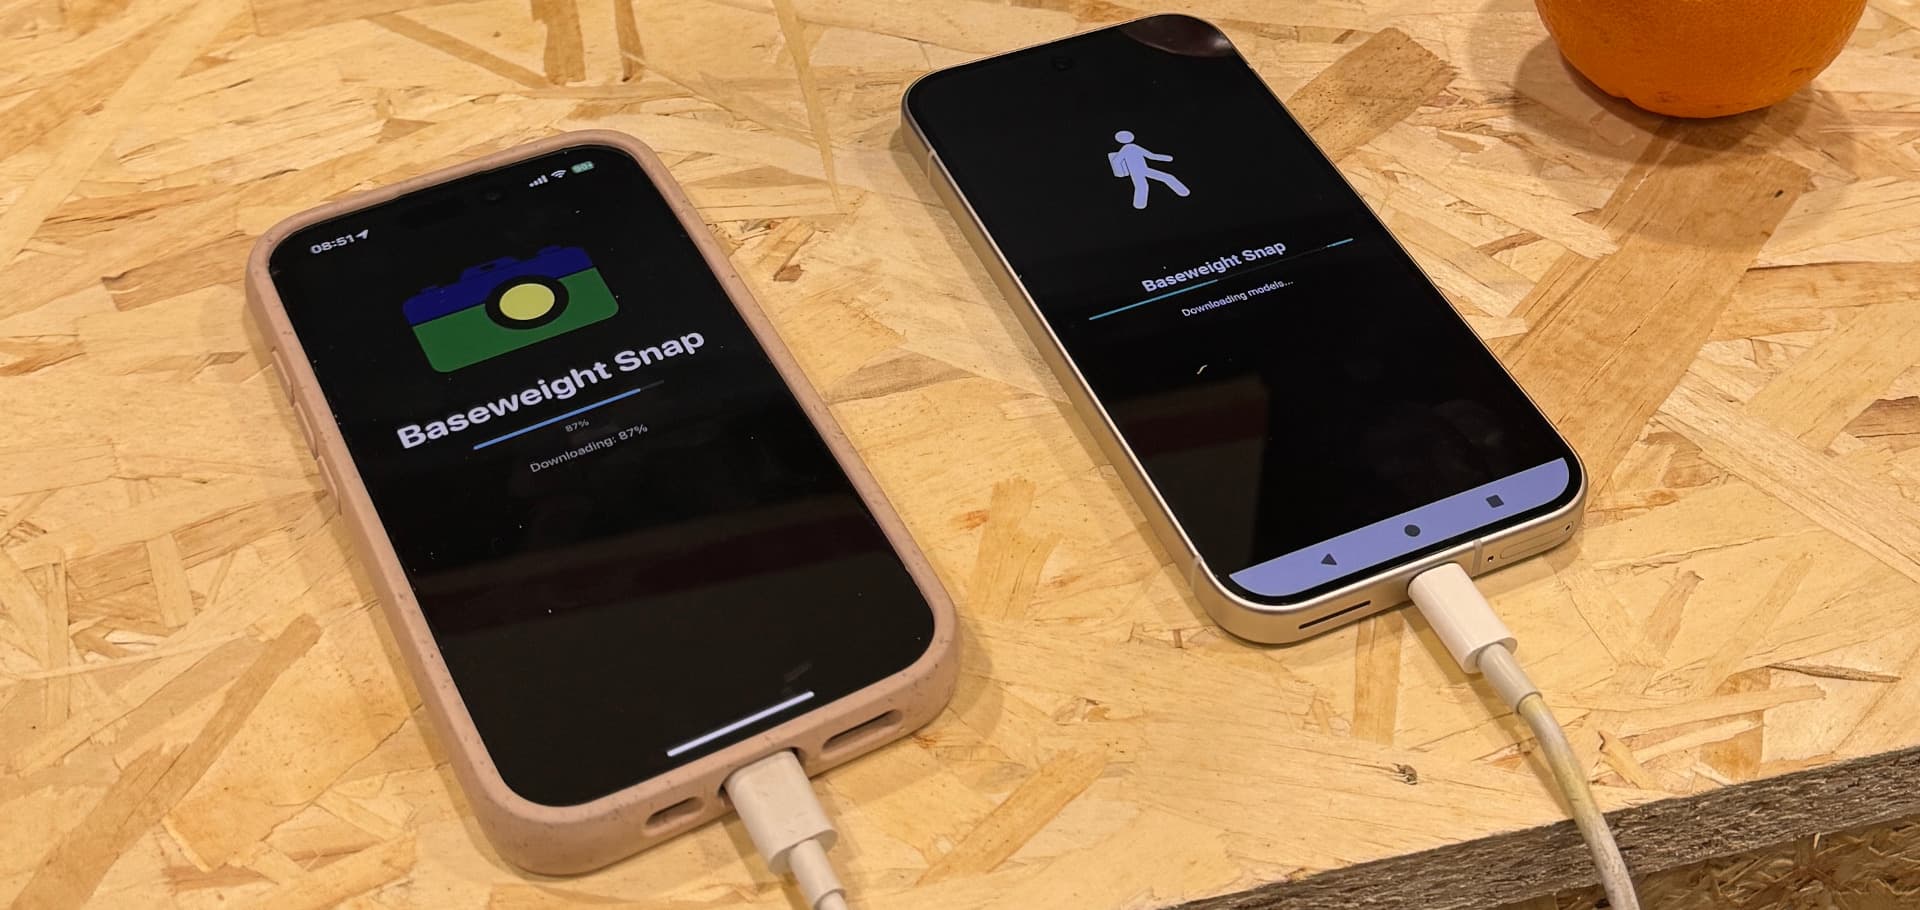
But besides that, I wanted to get back to this and do a follow up to this, because despite the world moving on to Generative models like LLMs, VLMS and Diffusion-based models which is a hive of scum and villany, I was curious about all the different ways you could run a model on a device in 2024/2025.
So, old open source repos in hand, I embarked on an adventure. I already ran AnimeGAN wtih TFLite, ONNX Runtime and PyTorch mobile. I wanted to see if I could run it these ways:
- ONNX Runtime on iOS
- CoreML
- Rust using pyke-ort
- Candle
- ONNX Runtime using the Java SDK in Kotlin
- Executorch using the Java SDK in Kotlin
ONNX Runtime in C++
Honestly, this is a really basic model, and I'm a bit embarassed to admit that I used OpenCV for the pixel shifting because of laziness. I should have just wrote the nested for loop to do this, or used the header libraries. This is boilerplate, but it's irritating to re-write in every language.
    cv::Mat cropped, resizedImage, preMat, out;
    // Resize to something acceptable for the NN to process
    cropped = centerCrop(input);

    cv::resize(cropped,
               resizedImage,
               cv::Size(512, 512),
               cv::InterpolationFlags::INTER_CUBIC);

    resizedImage.convertTo(resizedImage, CV_32F, 1.0 / 255);

    // Normalize to [-1,1] range
    resizedImage = resizedImage * 2 - 1;

    // Convert from HWC to CHW format
    std::vector<cv::Mat> channels;
    cv::split(resizedImage, channels);

    // Create output matrix with CHW layout (3x512x512)
    out = cv::Mat(3, 512 * 512, CV_32F);

    // Copy each channel's data into the output matrix
    for (int c = 0; c < 3; c++) {
        cv::Mat channel = channels[c].reshape(1, 1); // Flatten to 1D
        channel.copyTo(out.row(c));
    }

    // Reshape to 3D tensor format (3x512x512)
    out = out.reshape(1, 3);

    return out;
Honestly, this is the question that I would ask people in interviews at Adobe all the time, and I would fail people if they didn't understand why you would switch from channels first to channels last. This may seem absolutely trivial (and it is), but it is still a very important and trivial step that's applicable when we start working with Visual Langauge Models, which need to normalize an image and break it up into patches before doing a vision encoding step.
Of course, we'd then go and just run it normally in ONNX runtime:
    cv::Mat preProcesedMat = preProcess(input);
    int64_t width = preProcesedMat.cols;
    int64_t height = preProcesedMat.rows;

    LOGI("preprocessedMat cols: %d", int(width));
    LOGI("preprocessedMat rows: %d", int(height));

    // Allocate the things
    auto memory_info = Ort::MemoryInfo::CreateCpu(OrtArenaAllocator, OrtMemTypeDefault);
    size_t input_tensor_size = preProcesedMat.total() * preProcesedMat.channels();
    std::vector<int64_t> input_node_dims = {1, 3, 512, 512};

    LOGI("input_tensor_size: %d", int(input_tensor_size));

    if(preProcesedMat.data == nullptr)
    {
        LOGI("preProcesedMat is nullptr");
    }

    auto input_tensor = Ort::Value::CreateTensor<float>(memory_info, (float *)preProcesedMat.data,
                                                        input_tensor_size,
                                                        input_node_dims.data(), 4);

    // Check to make sure these are actually correct inputs and outputs
    const char* input_names[] = {"input.1"};
    const char* output_names[] = {"921"};

    LOGI("input_names: %s", input_names[0]);
    LOGI("output_names: %s", output_names[0]);

    auto output_result = session->Run(Ort::RunOptions{nullptr}, input_names,
                                &input_tensor, 1,
                                output_names, 1);

    LOGI("We were able to run the model");

    // Use std::move to transfer ownership instead of copying
    Ort::Value output_tensor = std::move(output_result[0]);
    float * output_data = output_tensor.GetTensorMutableData<float>();

    LOGI("We made it!");

    output = postProcess(output_data);
Honestly, maintaining the basic hygiene in C++ of usign std::move is critical here, especially since allocating more memory means that you have to do a copy and that's slower. I know we're dealing with CPU memory here, and not GPU memory from an execution provider, where you'd do some other method of keeping memory on the GPU depending on the GPU backend you choose to use.
So, this code was originally written for Android, but it also worked on iOS. I know that in iOS, I had to write some Objective-C++ to pass thigns into Swift.
+ (UIImage *)processImage:(UIImage *)image {
    // Convert UIImage to cv::Mat
    cv::Mat inputMat;
    UIImageToMat(image, inputMat);

    if (inputMat.empty()) {
        NSLog(@"Failed to convert UIImage to cv::Mat");
        return nil;
    }

    // Create AnimeGan instance
    AnimeGan::AnimeGan animeGan;

    // Pre-process
    cv::Mat preprocessedMat = animeGan.preProcess(inputMat);

    // For testing, we'll just create dummy output data
    // In a real implementation, this would be the output from your ML model
    float *dummyOutputData = new float[512 * 512 * 3];
    for (int i = 0; i < 512 * 512 * 3; i++) {
        dummyOutputData[i] = 0.5f; // Just a placeholder value
    }

    // Post-process
    cv::Mat outputMat = animeGan.postProcess(dummyOutputData);

    // Clean up
    delete[] dummyOutputData;

    // Convert to UIImage
    UIImage *resultImage = MatToUIImage(outputMat);
    return resultImage;
}
Then in Swift:
    func processWithCoreML(_ image: UIImage) async throws -> UIImage? {
        // Check if we have the loaded model from init
        if let model = self.model {
            // Use the new direct method
            if let processedImage = model.processImage(image) {
                return processedImage
            } else {
                throw NSError(domain: "AnimeGanWrapper", code: 2, userInfo: [NSLocalizedDescriptionKey: "Model prediction failed"])
            }
        } else {
            // Fall back to the shared instance method if our direct model isn't loaded
            let model = AnimeGanModel.shared

            // Load the model if not already loaded
            if !model.isModelLoaded {
                try await model.loadModel()
            }

            // Get pixel buffer from preprocessed image and properly manage the returned object
            guard let unmanagedPixelBuffer = AnimeGanObjCWrapper.pixelBuffer(fromPreprocessedMat: image) else {
                throw NSError(domain: "AnimeGanWrapper", code: 1, userInfo: [NSLocalizedDescriptionKey: "Failed to create pixel buffer"])
            }

            // Convert Unmanaged<CVPixelBuffer> to CVPixelBuffer
            let pixelBuffer = unmanagedPixelBuffer.takeRetainedValue()

            // Run the model
            guard let outputData = try await model.processImage(pixelBuffer) else {
                throw NSError(domain: "AnimeGanWrapper", code: 2, userInfo: [NSLocalizedDescriptionKey: "Model returned nil output"])
            }

            // Convert [Float] to float*
            let count = outputData.count
            let outputPtr = UnsafeMutablePointer<Float>.allocate(capacity: count)
            outputData.withUnsafeBufferPointer { buffer in
                outputPtr.initialize(from: buffer.baseAddress!, count: count)
            }

            // Post-process
            let processedImage = AnimeGanObjCWrapper.postProcessImage(image, withOutputData: outputPtr)

            // Clean up
            outputPtr.deallocate()

            return processedImage
        }
    }
Of course, I added the slower ORT inference as a baseline reference as well:
func processWithONNXRuntime(_ image: UIImage) -> UIImage? {
        // First check if the model exists in the documents directory
        let documentsDirectory = FileManager.default.urls(for: .documentDirectory, in: .userDomainMask)[0]
        let modelURL = documentsDirectory.appendingPathComponent("animegan_paprika_constraned.with_runtime_opt.ort")

        if FileManager.default.fileExists(atPath: modelURL.path) {
            print("Using downloaded ONNX model from documents directory")

            // Set up the ONNX Runtime with the downloaded model
            if !AnimeGanORTWrapper.setup(withModelPath: modelURL.path) {
                print("Failed to set up ONNX Runtime with downloaded model")
                return nil
            }
        } else {
            // Fall back to bundle if available (for development/testing)
            print("Downloaded model not found, checking bundle...")
            guard let bundleModelPath = Bundle.main.path(forResource: "animegan_paprika_constraned.with_runtime_opt", ofType: "ort") else {
                print("Failed to find ONNX model in bundle or documents directory")
                return nil
            }

            // Set up the ONNX Runtime with the bundled model
            if !AnimeGanORTWrapper.setup(withModelPath: bundleModelPath) {
                print("Failed to set up ONNX Runtime with bundled model")
                return nil
            }
        }

        // Process the image
        return AnimeGanORTWrapper.processImage(image)
    }
So, that was kinda fun. Then I dealt with the most frustrating task. Doing this the Android developer way with Kotlin.
WTF? This isn't Kotlin, I thought you did Android Dev
OK, so, fun fact! You actually can't load files using ONNX Runtime that's out in the repository, so you have to do this to load the file in the first place:
        try {
            val modelPath = "/storage/emulated/0/Android/data/ai.baseweight.animegan/files/downloaded_model.onnx"
            val modelFile = File(modelPath)

            sessionOptions = OrtSession.SessionOptions()


            if (!modelFile.exists()) {
                Log.e("AnimeGan", "Model file does not exist at $modelPath")
                throw OrtException("Model file does not exist at $modelPath")
            }
            // For some reason ORT in Java can't read this file, pass it through a ByteBuffer to ORT
            val modelBytes = modelFile.readBytes()
            session = env.createSession(modelBytes, sessionOptions);
        }
        catch (e: OrtException) {
            Log.d("AnimeGan", "OrtException: " + e.message)
        }
You would have to do this anyway if you were doing something like decrypting a model and loading it, but this was frustrating, not nearly as frustrating as pre-processing an image in Kotlin using the Android SDK. I straight up hat this and this shit kinda made me hate life.
 fun preprocess(inputBuffer: ByteBuffer, outputBuffer: FloatBuffer, width: Int, height: Int) {
        // Create a bitmap from the input buffer
        val inputBitmap = Bitmap.createBitmap(width, height, Bitmap.Config.ARGB_8888)
        inputBuffer.rewind()
        inputBitmap.copyPixelsFromBuffer(inputBuffer)

        // Resize to 512x512 if needed
        val resizedBitmap = if (inputBitmap.width != 512 || inputBitmap.height != 512) {
            Bitmap.createScaledBitmap(inputBitmap, 512, 512, true)
        } else {
            inputBitmap
        }

        // Convert to RGB and normalize to [-1, 1]
        val pixels = IntArray(512 * 512)
        resizedBitmap.getPixels(pixels, 0, 512, 0, 0, 512, 512)

        outputBuffer.rewind()

        // Debug: Check first few pixel values
        Log.d("AnimeGan", "First few input pixels: ${pixels.take(5).joinToString()}")

        // First, write all R values
        for (pixel in pixels) {
            val r = ((pixel shr 16) and 0xFF) / 127.5f - 1.0f
            outputBuffer.put(r)
        }

        // Then, write all G values
        for (pixel in pixels) {
            val g = ((pixel shr 8) and 0xFF) / 127.5f - 1.0f
            outputBuffer.put(g)
        }

        // Finally, write all B values
        for (pixel in pixels) {
            val b = (pixel and 0xFF) / 127.5f - 1.0f
            outputBuffer.put(b)
        }

        outputBuffer.rewind()

        // Debug: Check first few normalized values
        val debugValues = FloatArray(15) // Get first 5 pixels (3 channels each)
        outputBuffer.get(debugValues)
        Log.d("AnimeGan", "First few normalized values: ${debugValues.joinToString()}")
        outputBuffer.rewind()

        // Debug: Check min/max values
        var minValue = Float.MAX_VALUE
        var maxValue = Float.MIN_VALUE
        val allValues = FloatArray(outputBuffer.remaining())
        outputBuffer.get(allValues)
        for (value in allValues) {
            minValue = minOf(minValue, value)
            maxValue = maxOf(maxValue, value)
        }
        Log.d("AnimeGan", "Normalized value range: min=$minValue, max=$maxValue")
        outputBuffer.rewind()
    }
Of course, there's the main prediction, which is pretty boring and standard:
fun doPredict(inputBuffer: ByteBuffer, outputBuffer: ByteBuffer, width: Int, height: Int) {
        try {
            // Create buffers for preprocessing
            val preprocessedBuffer = ByteBuffer.allocateDirect(512 * 512 * 3 * 4) // 3 channels, 4 bytes per float
            val floatBuffer = preprocessedBuffer.order(ByteOrder.nativeOrder()).asFloatBuffer()

            // Preprocess the input
            preprocess(inputBuffer, floatBuffer, width, height)

            // TODO: Run the model inference here
            // This will be implemented in the next step
            val shape = longArrayOf(1L, 3L, 512L, 512L)

            // We can't rewind enough
            floatBuffer.rewind()

            var tensorFromBuffer = OnnxTensor.createTensor(env, floatBuffer, shape)
            val result = session.run(Collections.singletonMap("input", tensorFromBuffer), setOf("output"))
            result.use {
                // Assuming outputArray is a 4D float array from ONNX model
                val outputArray = result.get(0).value as Array<Array<Array<FloatArray>>>

                // get the values of the 4D array
                val batchSize = outputArray.size
                val channels = outputArray[0].size
                val imageHeight = outputArray[0][0].size
                val imageWidth = outputArray[0][0][0].size

                // Calculate the total number of elements
                val totalElements = batchSize * channels * imageHeight * imageWidth

                // Create a FloatBuffer to hold the flattened data
                val outBuffer = FloatBuffer.allocate(totalElements)

                // Iterate through the 4D array and put each element into the FloatBuffer
                for (b in 0 until batchSize) {
                    for (c in 0 until channels) {
                        for (h in 0 until imageHeight) {
                            for (w in 0 until imageWidth) {
                                outBuffer.put(outputArray[b][c][h][w])
                            }
                        }
                    }
                }

                // Rewind the FloatBuffer to the beginning
                outBuffer.rewind()
                postprocess(outBuffer, outputBuffer)
            }


        }
        catch (e: OrtException) {
            Log.d("AnimeGan", "OrtException: " + e.message)
        }
    }
Honestly, doing AI in Android in Kotlin makes you want to hate life. But hey, let's go straight in to weird and throw Rust in the mix, because Rust is cool and we can use things like Candle. Except we can't because while we can run Candle on Android, we can't load the ONNX file because it has a Reshape, and Candle doesn't like it when things reshape.
So....Let's use pyke-ort, just to say we did use Rust:
I did this over here in this repo, and it was non-trivial, but I mean, look at this hawtness:
    fn preprocess(image: DynamicImage) -> AnyhowResult<Vec<f32>> {
        // Resize to 512x512
        let resized = image.resize_exact(512, 512, image::imageops::FilterType::CatmullRom);

        // Convert to RGB and normalize to [-1, 1]
        let rgb = resized.to_rgb8();
        let mut data = Vec::with_capacity(3 * 512 * 512);

        // Convert from HWC to CHW format and normalize
        for c in 0..3 {
            for y in 0..512 {
                for x in 0..512 {
                    let pixel = rgb.get_pixel(x, y);
                    // Normalize to [-1, 1]
                    // Note: RgbImage stores channels in RGB order, so we can use c directly
                    data.push((pixel[c] as f32 / 255.0) * 2.0 - 1.0);
                }
            }
        }

        Ok(data)
    }
The main purpose of this was so I could get used to bringing over Rust components to Android like Hugging Face Tokenizers, as well as keep my pre-processing logic working in Rust, since it's nice and clean in comparison to doing this in raw C++. Is Rust good for everything? Well, given that I'm currently bashing my head on a SmolVLM demo using pyke-ort, and begging Claude-4-sonnet in Cursor to fill in the gaps in my Rust knoweldge, No, no it is definitely not. But for pre-processing, yeah, this is actually pretty great.
So, what did you learn
Many weird and useless things
- There are many ways to run ONNX models on Rust
- Kotlin sucks at image processing, Rust is awesome at it
- AnimeGAN is a terrible demo to show a VC
- This post being basic is also weird, and probably too technical for most AI developers
- Executorch is kinda neat, but needs better C++ and Rust support
- LiteRT hasn't changed very much
The majority of the old ML functionality that people do is some variation of this basic structure:
- Pre-Processing
- Inference
- Post-Processing
In fact, that's what transformers and transformers.js does, and most people just use it and don't think about the internals inside. There are entire cottage industries of people who just sell entire libraries that just do one thing, whether it be the quest for an even faster whisper (which is what ArgMax and PicoVoice do), or full on ML pipelines like what NimbleEdge does. There's also the entire empire that Ultralytics built with their GPLv3 licenced YOLO models that everyone uses in their object dectection workflow.
In Conclusion
It's good to have a nice, small test of known values when you're switching out tooling and frameworks to make sure that you're still on the right track when doing this sort of work. I really hate using Kotlin or any JVM based framework for image processing and people who think that this is the right choice of the job probably either don't have the option of using Rust or C++, or are scared by using things that are super strict or are just plain unsafe.
That being said, at least none of this is Javascript or Typescript.